

LDO Voron V0.2r1 Kit Review
A detailed, builder-focused review based on a full livestreamed build, long-term use, and real tuning.

Disclosure & Intent
This LDO Voron V0 kit was provided by MatterHackers for the purpose of creating content around it. I was not paid to feature this kit, and I retained full editorial control over this review.
Some links on this page are affiliate links. Using them helps support the channel and future projects at no additional cost to you. My goal here is not to sell you this kit, but to give you enough real information to decide whether it makes sense for you.
TL;DR — Should you buy the LDO Voron V0 kit?
Yes, if you prefer a premium, well documented kit with a lot of higher-end value-adds.
No, if you’re primarily focused on lower price and prefer not having to pay for features you might not use.
LDO V0 Kit Video Review
It is:
A deep look at kit completeness, quality, and value
An honest account of build friction and problem areas
A long-term perspective informed by tuning and real prints
Written from the point of view of a careful but non-expert Voron builder
I want people that are looking at this kit to feel informed about what it contains, what it doesn’t, and all of it’s Pros & Cons
LDO V0 Kit Build Streams
What This Review Is (and Isn’t)
This is a builder-centric, experience-driven review of the LDO Voron V0 kit
It is not:
A step-by-step build guide
A generic Voron V0 overview
A sponsored sales page
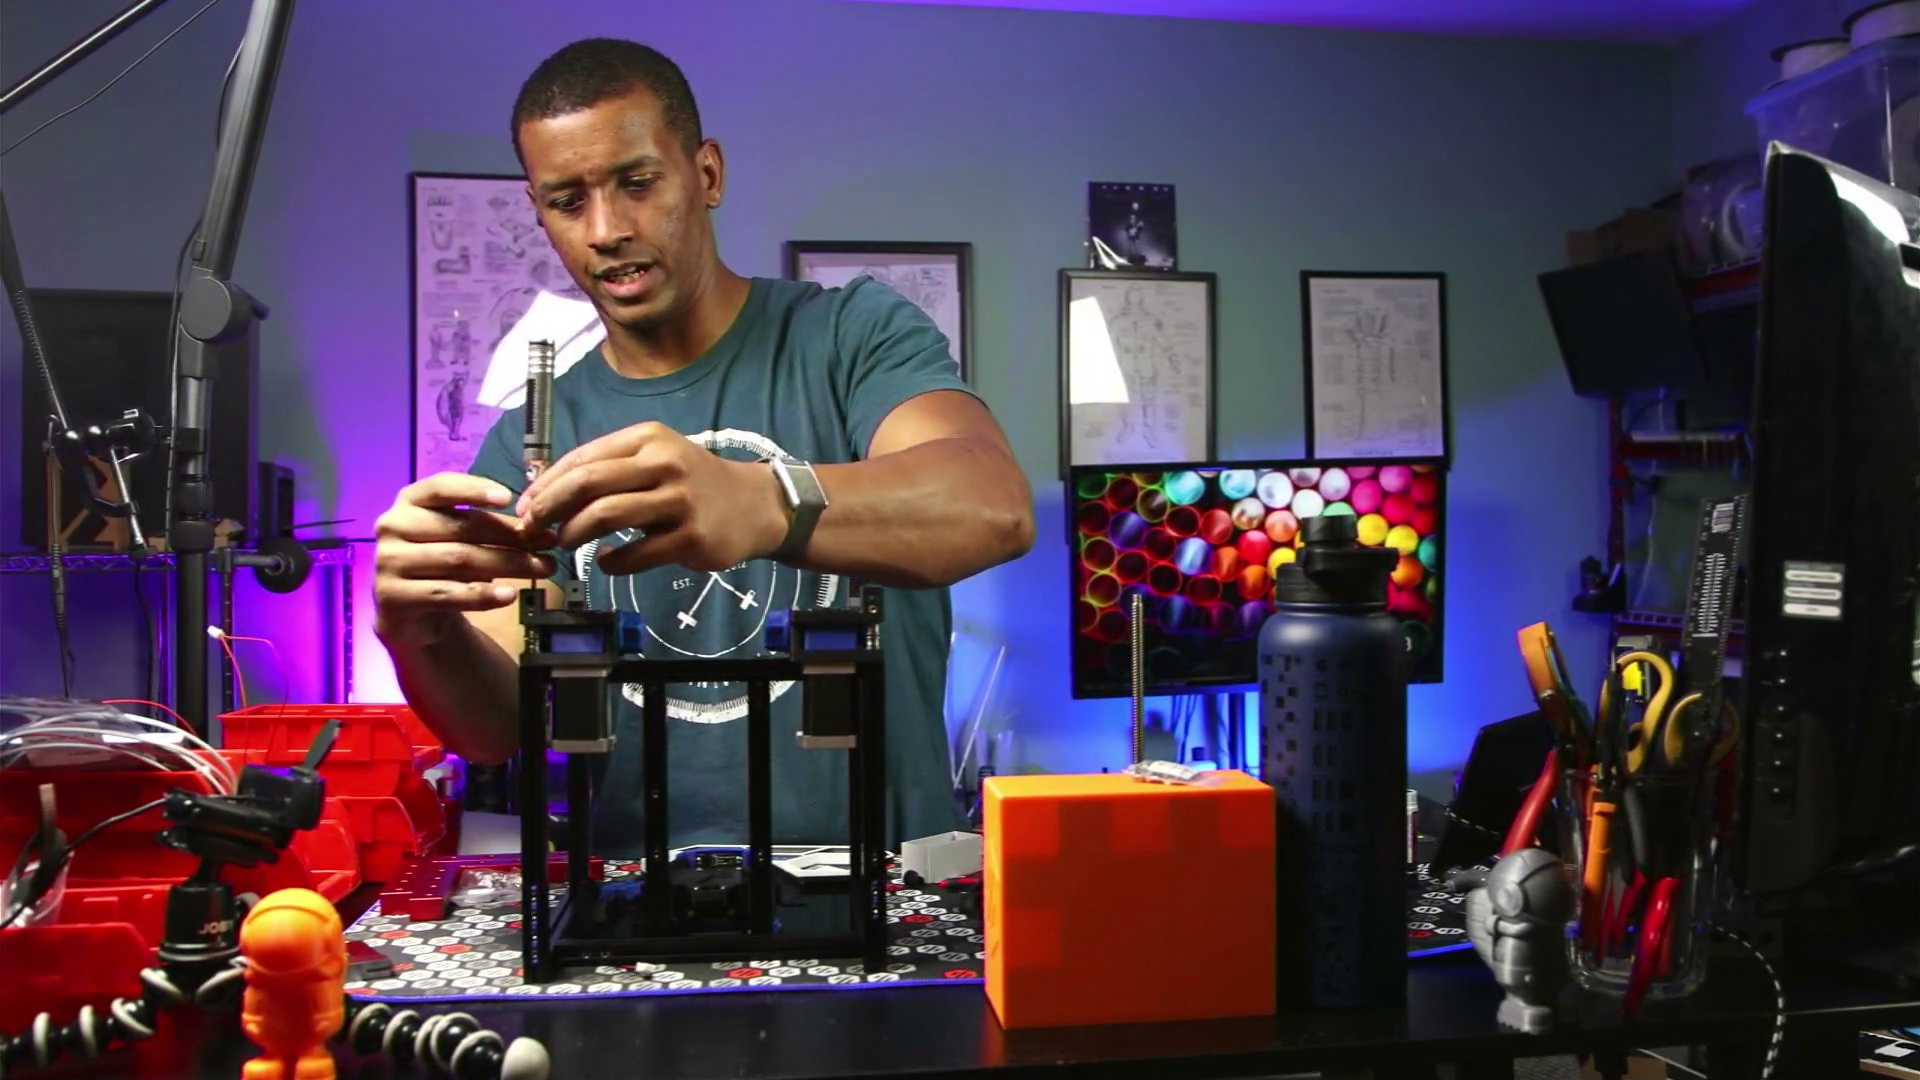
If you want to see the entire build process, check out the full livestream playlist above. You can see all details of mistakes, fixes, and troubleshooting.
Why the Voron V0?
If you’re reading this, you’re probably already familiar with the Voron V0 platform and why it exists.
Briefly:
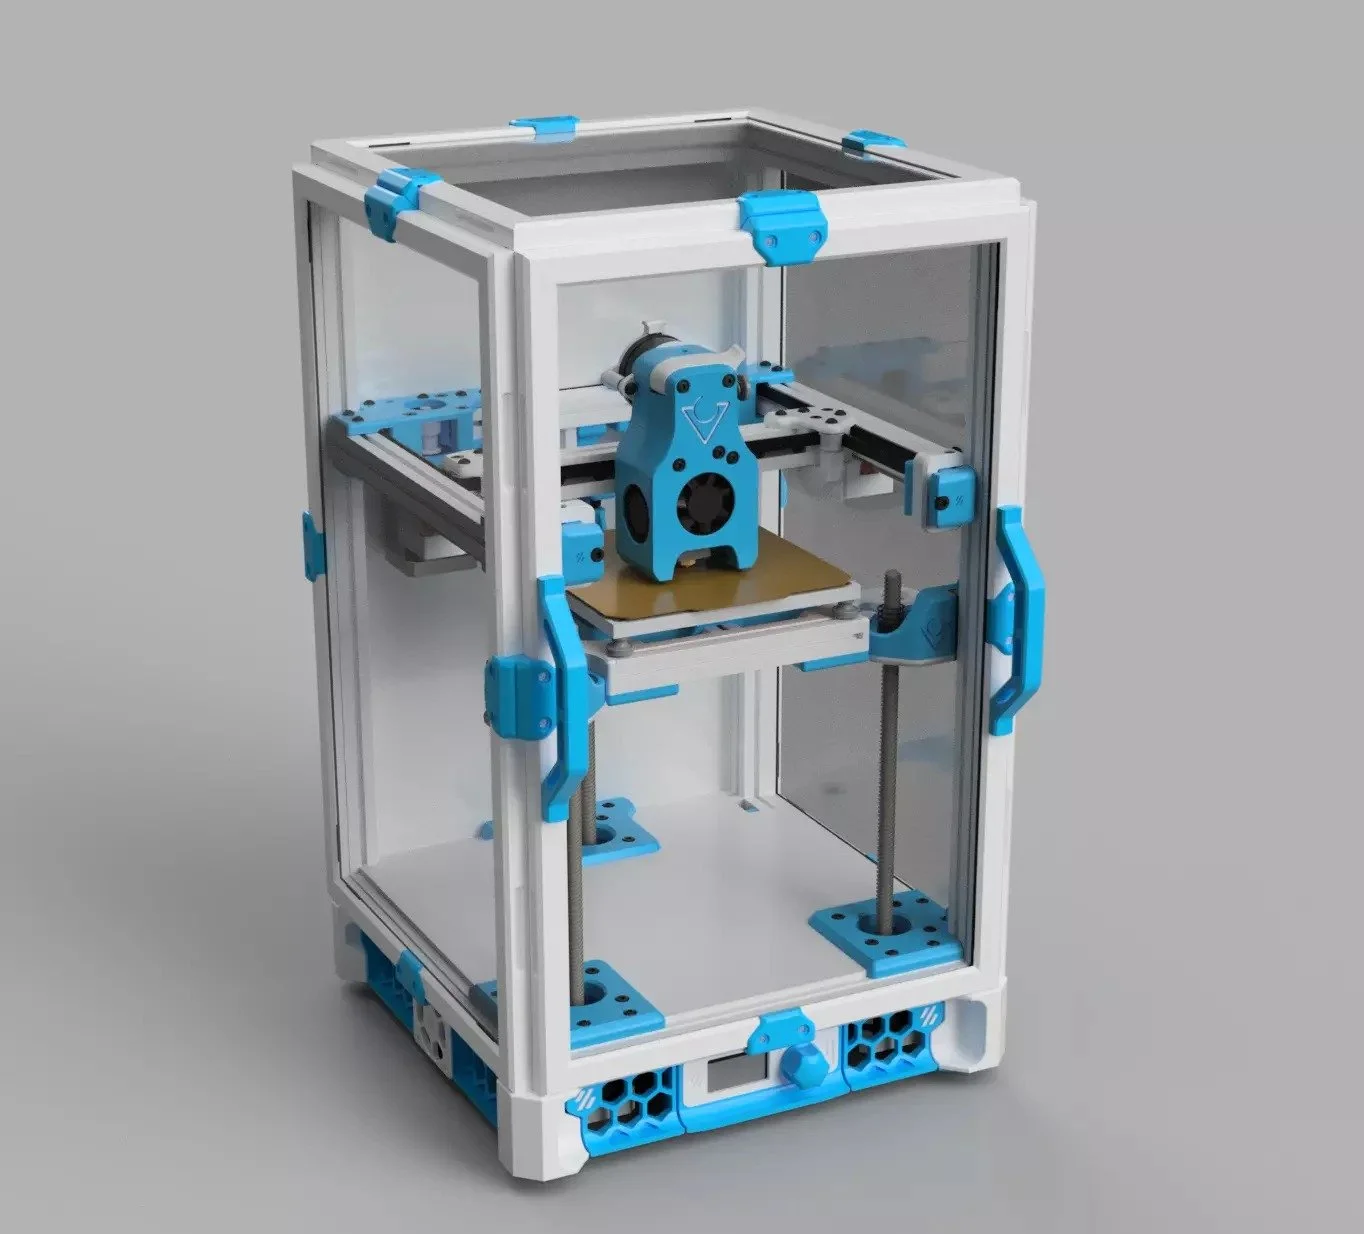
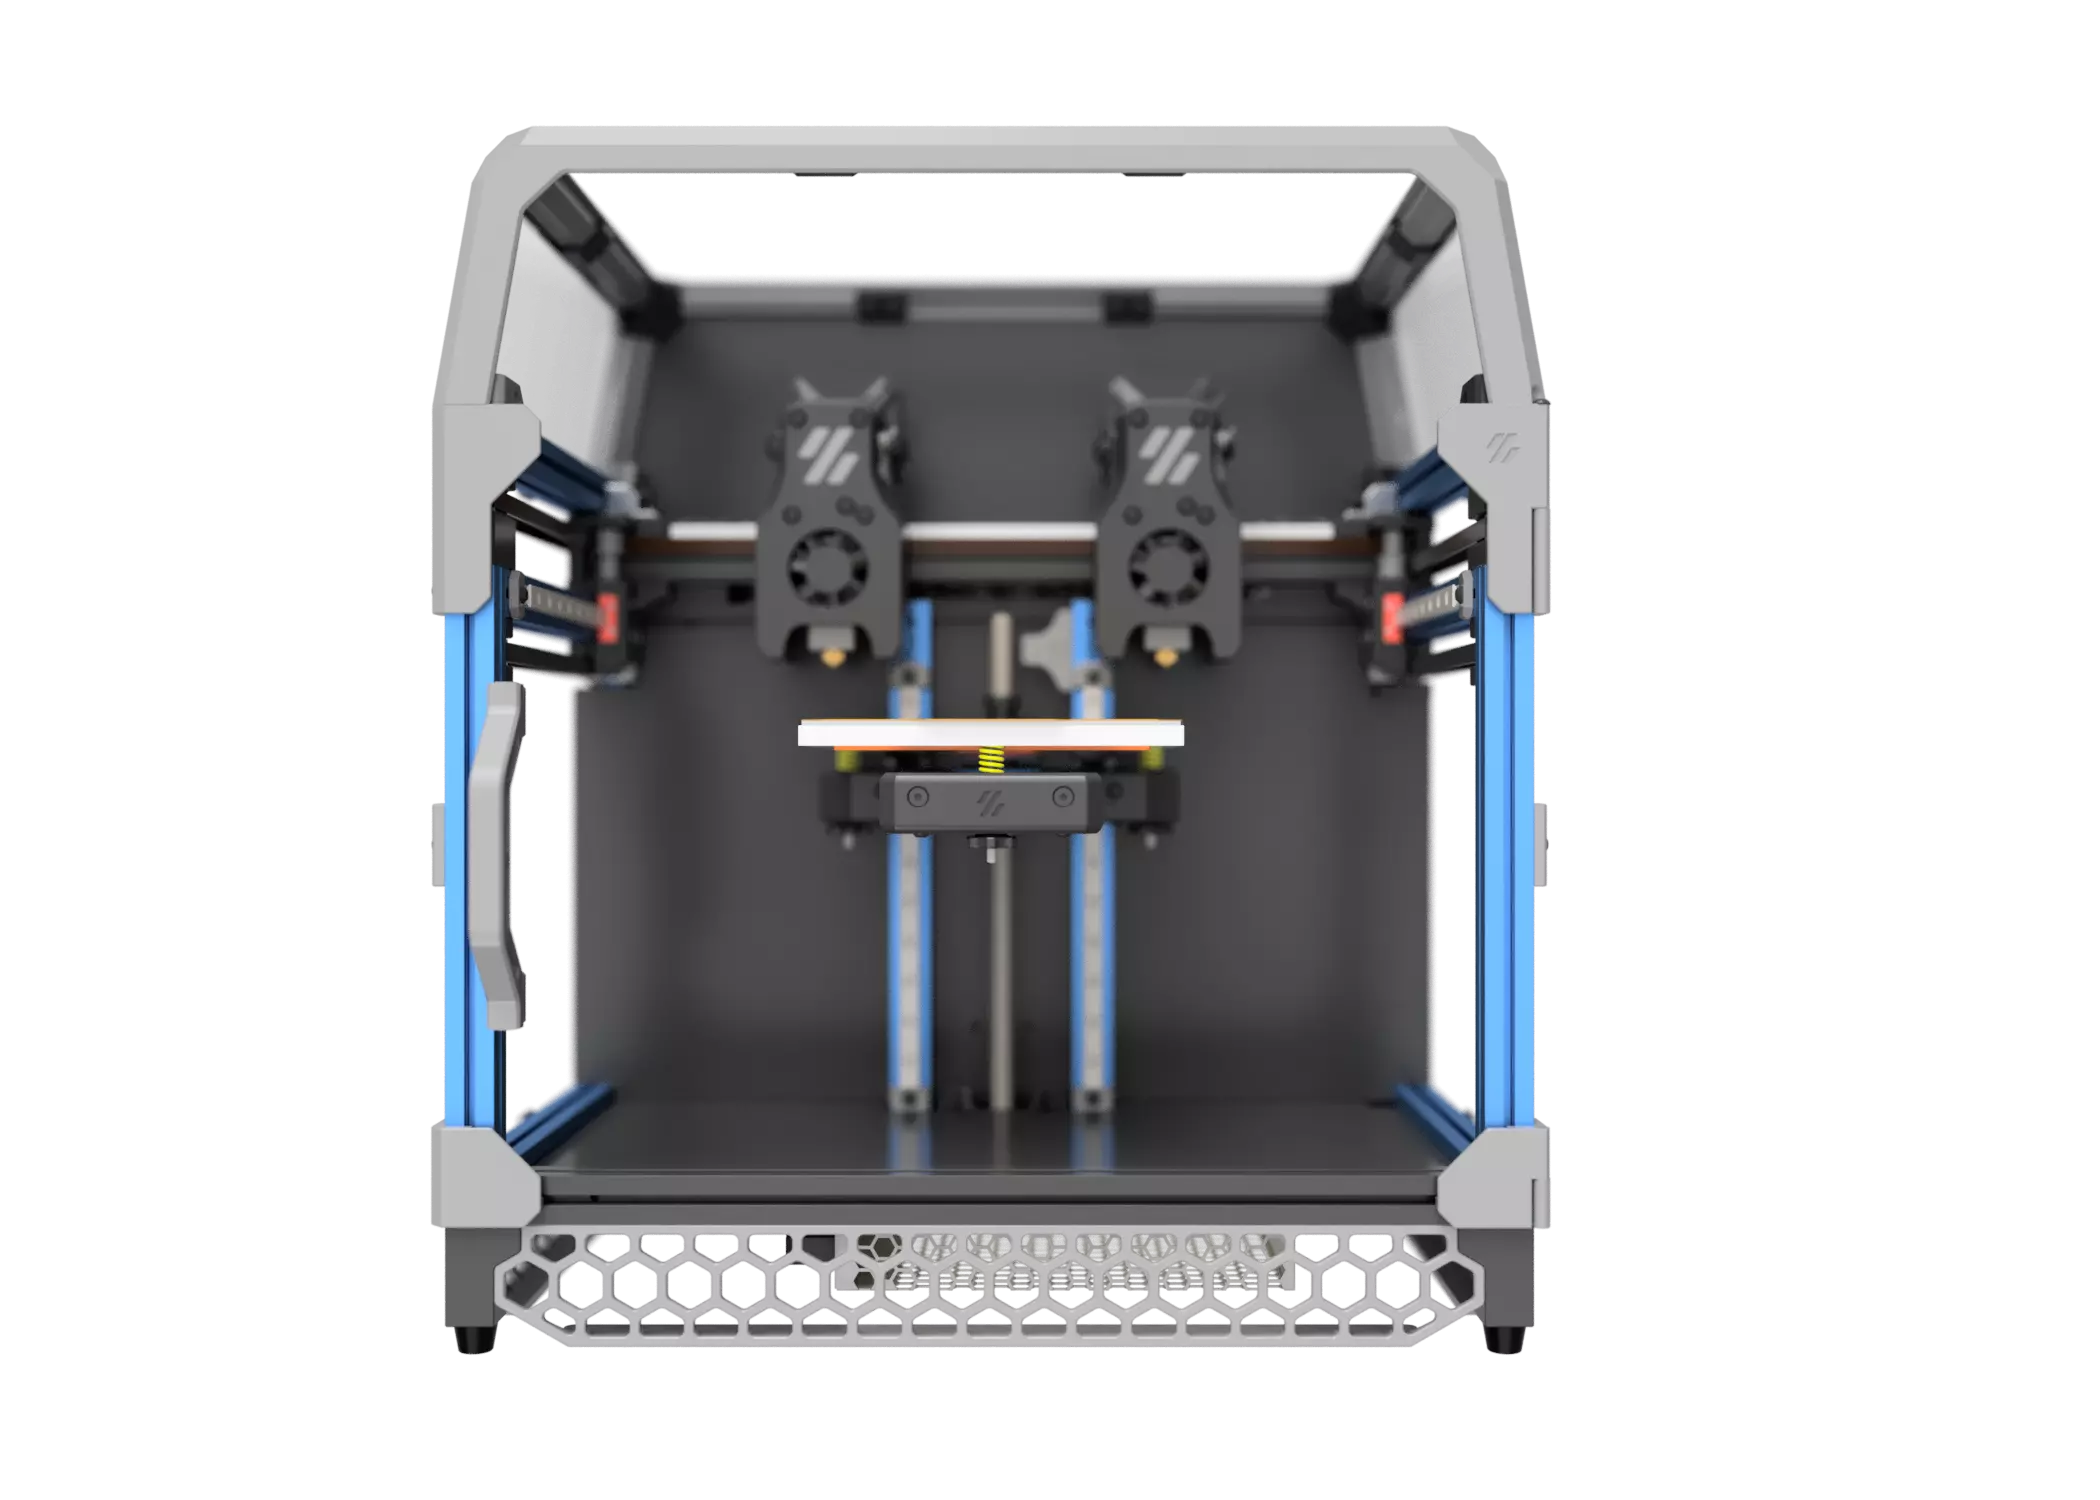
Compact CoreXY kinematics capable of very high speeds
Simple cantilever bed (manual leveling, no mesh required)
Fully enclosed chamber suitable for ABS / ASA
Small 120×120×120 mm build volume with fast heat-up
Powered by Klipper, with a massive mod ecosystem
The Voron V0 is one of the most popular entry points into the Voron ecosystem, and for many people, it’s their first DIY CoreXY printer.
All of those were the case for me. It was also my first printer with linear rails and first fully enclosed printer even thoough I’ve owned, used and reviewed upwards of 12 Printers in the past.
Checkout the Voron Database for examples of what other builders have done. Color schemes, filaments and mods. There’s a saying that you don’t build A VORON, you build YOUR VORON.
The LDO V0 Kit at a Glance
Pricing:
~$650 [depending on retailer and add-ons]
Pricing may vary quite a bit by region and retailer. Specific features and add-ons will also differ based on retailer (Raspberry Pi for example)
You’ll have to decide if you want to print parts yourself, look for offers from the retailer, buy them from another retailer on Etsy or other retailers, or purchase them from the Vorno PIF (Print-it-forward) program.
There is also Fabreeko’s cPIF program where they team up with PIF members and utilize Fabreeko’s shipping capabilities to ship your parts faster than the typical Voron PIF turnaround times. It essentially allows you to “skip the line” of the typical PIF program
LDO VS Stock Voron V0 Specification
The LDO V0 kit is very highly regarded amongst Voron builders and the Voron team. Jason from LDO has supported many Open Source Hardware projects for quite a while.
The price point for LDO Voron kits are often ~2x the base price of other manufacturers. The quality gap has gotten closer in more recent years but LDO’s is still considered the best by many.
You can get a working V0 from any of the 4 main kit manufacturers. Whether the price of the LDO kit is worth it mostly depends on if you find the quality, documentation, company reputation and value-adds worth the sticker shock.
Major Features:
LDO Picobilical - RP2040 based “smart” V0 Umbilical
LDO Motors & Extrusions (retailer dependent color options)
200w LDO Polyamide heated bed w/ screw in thermistor & integrated thermal fuse
LDO Kirigami Bed Frame full kit w/ wagos, splitter-pcb and Neopixel RGB LED
Voron Revo Hotend w/ .4 and .6mm nozzles
Builders can generally count on:
Getting help on the official Voron Discord is straightforward
Community troubleshooting advice applies cleanly
This build is recognizable as a standard V0 configuration
This matters, especially when compared to kits that significantly diverge from the reference design.
Packaging & Unboxing
The packaging, labelling an unboxing experience of the LDO kit is excellent. Other manufacturers have much more of a “box of parts” approach to packaging. Where LDO chooses to have a “box of boxes.”
This is partially because LDO offers many of their subsets of components as stand-alone product skus. You can purchase an LDO Frame Kit, Motor Kit, Picobilical Kit, Hardware Kit, etc…
So as you unbox things they are already fairly well organized in terms of the different sections and components of the build.
This is nice for checking off that you have everything. But did mean I often found myself searching through boxes trying to find a certain pack of screws or wire harness for a particular part of the build instructions.
LDO has also chosen to upgrade their kits through different revisions of the V0 spec by adding on to their existing parts. So the base kit still has some V0.0 and V0.1 parts in it. And I had a box specifically containing V0.2r1 upgrade parts meant to replace them.
Extra care must be taken to use the updated parts where necessary. A few folks on Discord have run into issues because they used the wrong bottom plate, or hotend fan from an old revision.


Documentation
LDO has some very good documentation. It is a bit disparate though. Below are some of the places you can go to find guides and information.
Doc Info:
Official LDO Documentation Page
The only frustration I experienced with the documentation centered around having to jump between pages and documents pretty frequently while building. There are multiple revisions of the documentation related to the different revisions of the V0 project. This makes sense.
But I did frequently find myself on the V0.1 version of a doc after a google search. Being very mindful and patient while working on the build is the best way to avoid getting mixed up.
Hardware Quality Breakdown
Frame & Extrusions
LDO are known for having really high quality extrusions:
Pre drilled and tapped for quick and easy assembly
Available in a variety of colors
Can be bought separately
Extrusions work with nut holders to prevent nuts sliding around
LDO “Post Build” square slide in nuts included
Quality impressions:
Great finish and consistency
Good scratch resistance (but be careful!)
LDO drills and taps all of the extrusions so pay close attention and sort them. The A and B extrusions are effectively the same in this kit. As are the C and H.
Some folks have noted that their color extrusions (Red/Blue/Grey/Etc…) have had slightly different hues for the upgrade kit that they received compared to the base kit.
This is likely because of them being from batches done relatively far apart. Try to keep the top hat extrusions together. In the final build it won’t be noticeable unless you mix and match.


Kirigami Bed Frame
The Kirigami frame is a very popular upgrade for V0 builds. It’s even mentioned in the official V0 manual. The LDO Kirigami frame was completely in spec in all dimensions and very square. I had much less issues building the Z assembly with this kit compared to my Formbot V0 build.
Features:
Full Kit (frame, wago connectors, RGB Neopixel, hardware, etc…)
Simplified Assembly
Replaces 3D Prints and 3 extrusion assembly with single piece
Good rigidity
Very square out of the box
It’s still very important to make sure the frame is square. Specifically the two mounting flanges for the carriages. These need to be coplanar to make sure the bed travel isn’t over constrained. Misalignment can cause binding and other Z travel issues


Polyamide Bed & Build Surface
Bed Features:
100w
Pre assembled w/ thermal fuse
Easy assembly w/ screw-in thermistor
Accurate & stable heating
This is a very high quality bed with a number of cool features. It really speeds up the assembly steps in the V0 manual because many steps like applying the heater and hooking up the thermal fuse are already done.
You pretty much just have to screw in the thermistor and apply the bed sheet magnet.
The bed sheet is also high quality and works really well. I was able to get very pretty and consistent first layers in calibration and practical prints.


Screws, Nuts & Other Hardware
LDO offers pretty good hardware in their kits. I didn’t have any bad hardware (having no threads or cross threads). There was also plenty of extra screws and nuts in every side.
Metal Nut Bars for rails
Some pre applied thread lock (pulley grub screws)
LDO Drop-in nuts allows adding nuts after the build
The only issues I had with the hardware were the first set of nut bars included with the kit. This was apparently a very early set that many users reported stripping easily.
I remedied this but using nut bars included in the extra hardware kit I bought. This was just so that I could continue with the build streams without interruption.
Other users reported the issue to LDO or their retailer and were sent replacements.
Since the LDO kit is divided up into boxes and skus, some of the hardware is spread around as well. So there might be several bags of the same screw or nut sizes.
I was able to re-utilize ModBots V0 HW Organizer model for this build.


Electronics Overview
Wiring & Cable Management
This is a really high point for the LDO Kit. The Picobilical helps bypass quite a few wire runs in a normal V0 elecontrics bay. The Kirigami kit also makes it easy to make changes to the bed. LDO includes zip ties and cable management tracks to help keep a clean back + bottom cable management setup. The precut + crimped wires are great!
SBC
LDO doesn’t provide a Single-Board-Computer like the Raspberry Pi in their kit currently. Some retailers will offer one as an option/upgrade. Otherwise you’ll have to source your own.
LDO used to provide a Pi Zero W in their kit. Their custom STLs repo includes a couple mounts specific to that SBC. You need to make sure you find and print the right mini DIN mount for your SBC. I used a Pi 4 for my build.
LDO does include a small Pi GPIO power injector PCB powered by the Picobilical frame board.


Picobilical
Cleans up wiring
Extra MCU
Frees MCU IO
Frame PCB (USB) + Toolhead (Molex)
Takes away a SBC USB port
14 wire molex cable to toolhead
Works well for stock builds
Only works with the LDO Toolhead board
RGB Breakout, ADXL and other nice to haves
Why I Migrated to CANBus
Eventually, I chose to migrate to a single-cable CANBus toolhead setup, not because the Picobilical was unusable, but because CANBus offered additional benefits.
Contributing factors:
Intermittent ADC out-of-range errors and MCU disconnects w/ Umbilical
Molex cable sensitivity
Desire to simplify wiring further
Flexibility and variety of toolhead options
Ability to breakout extra CAN/I2C and other protocols at the toolhead to possibly add probes/sensors/etc…
Interest in modern toolhead architectures
Tuning & Print Quality
Tuning followed standard Voron and Klipper practices:
Extruder rotation distance
First-layer squish
Pressure Advance
Input Shaping
Material-specific flow tuning
After tuning:
Clean surface finish
Reduced ringing
Consistent extrusion
Excellent performance for such a small printer
Check out OrcaSlicer’s calibration guide & Chris Ellis’ Tuning guide.
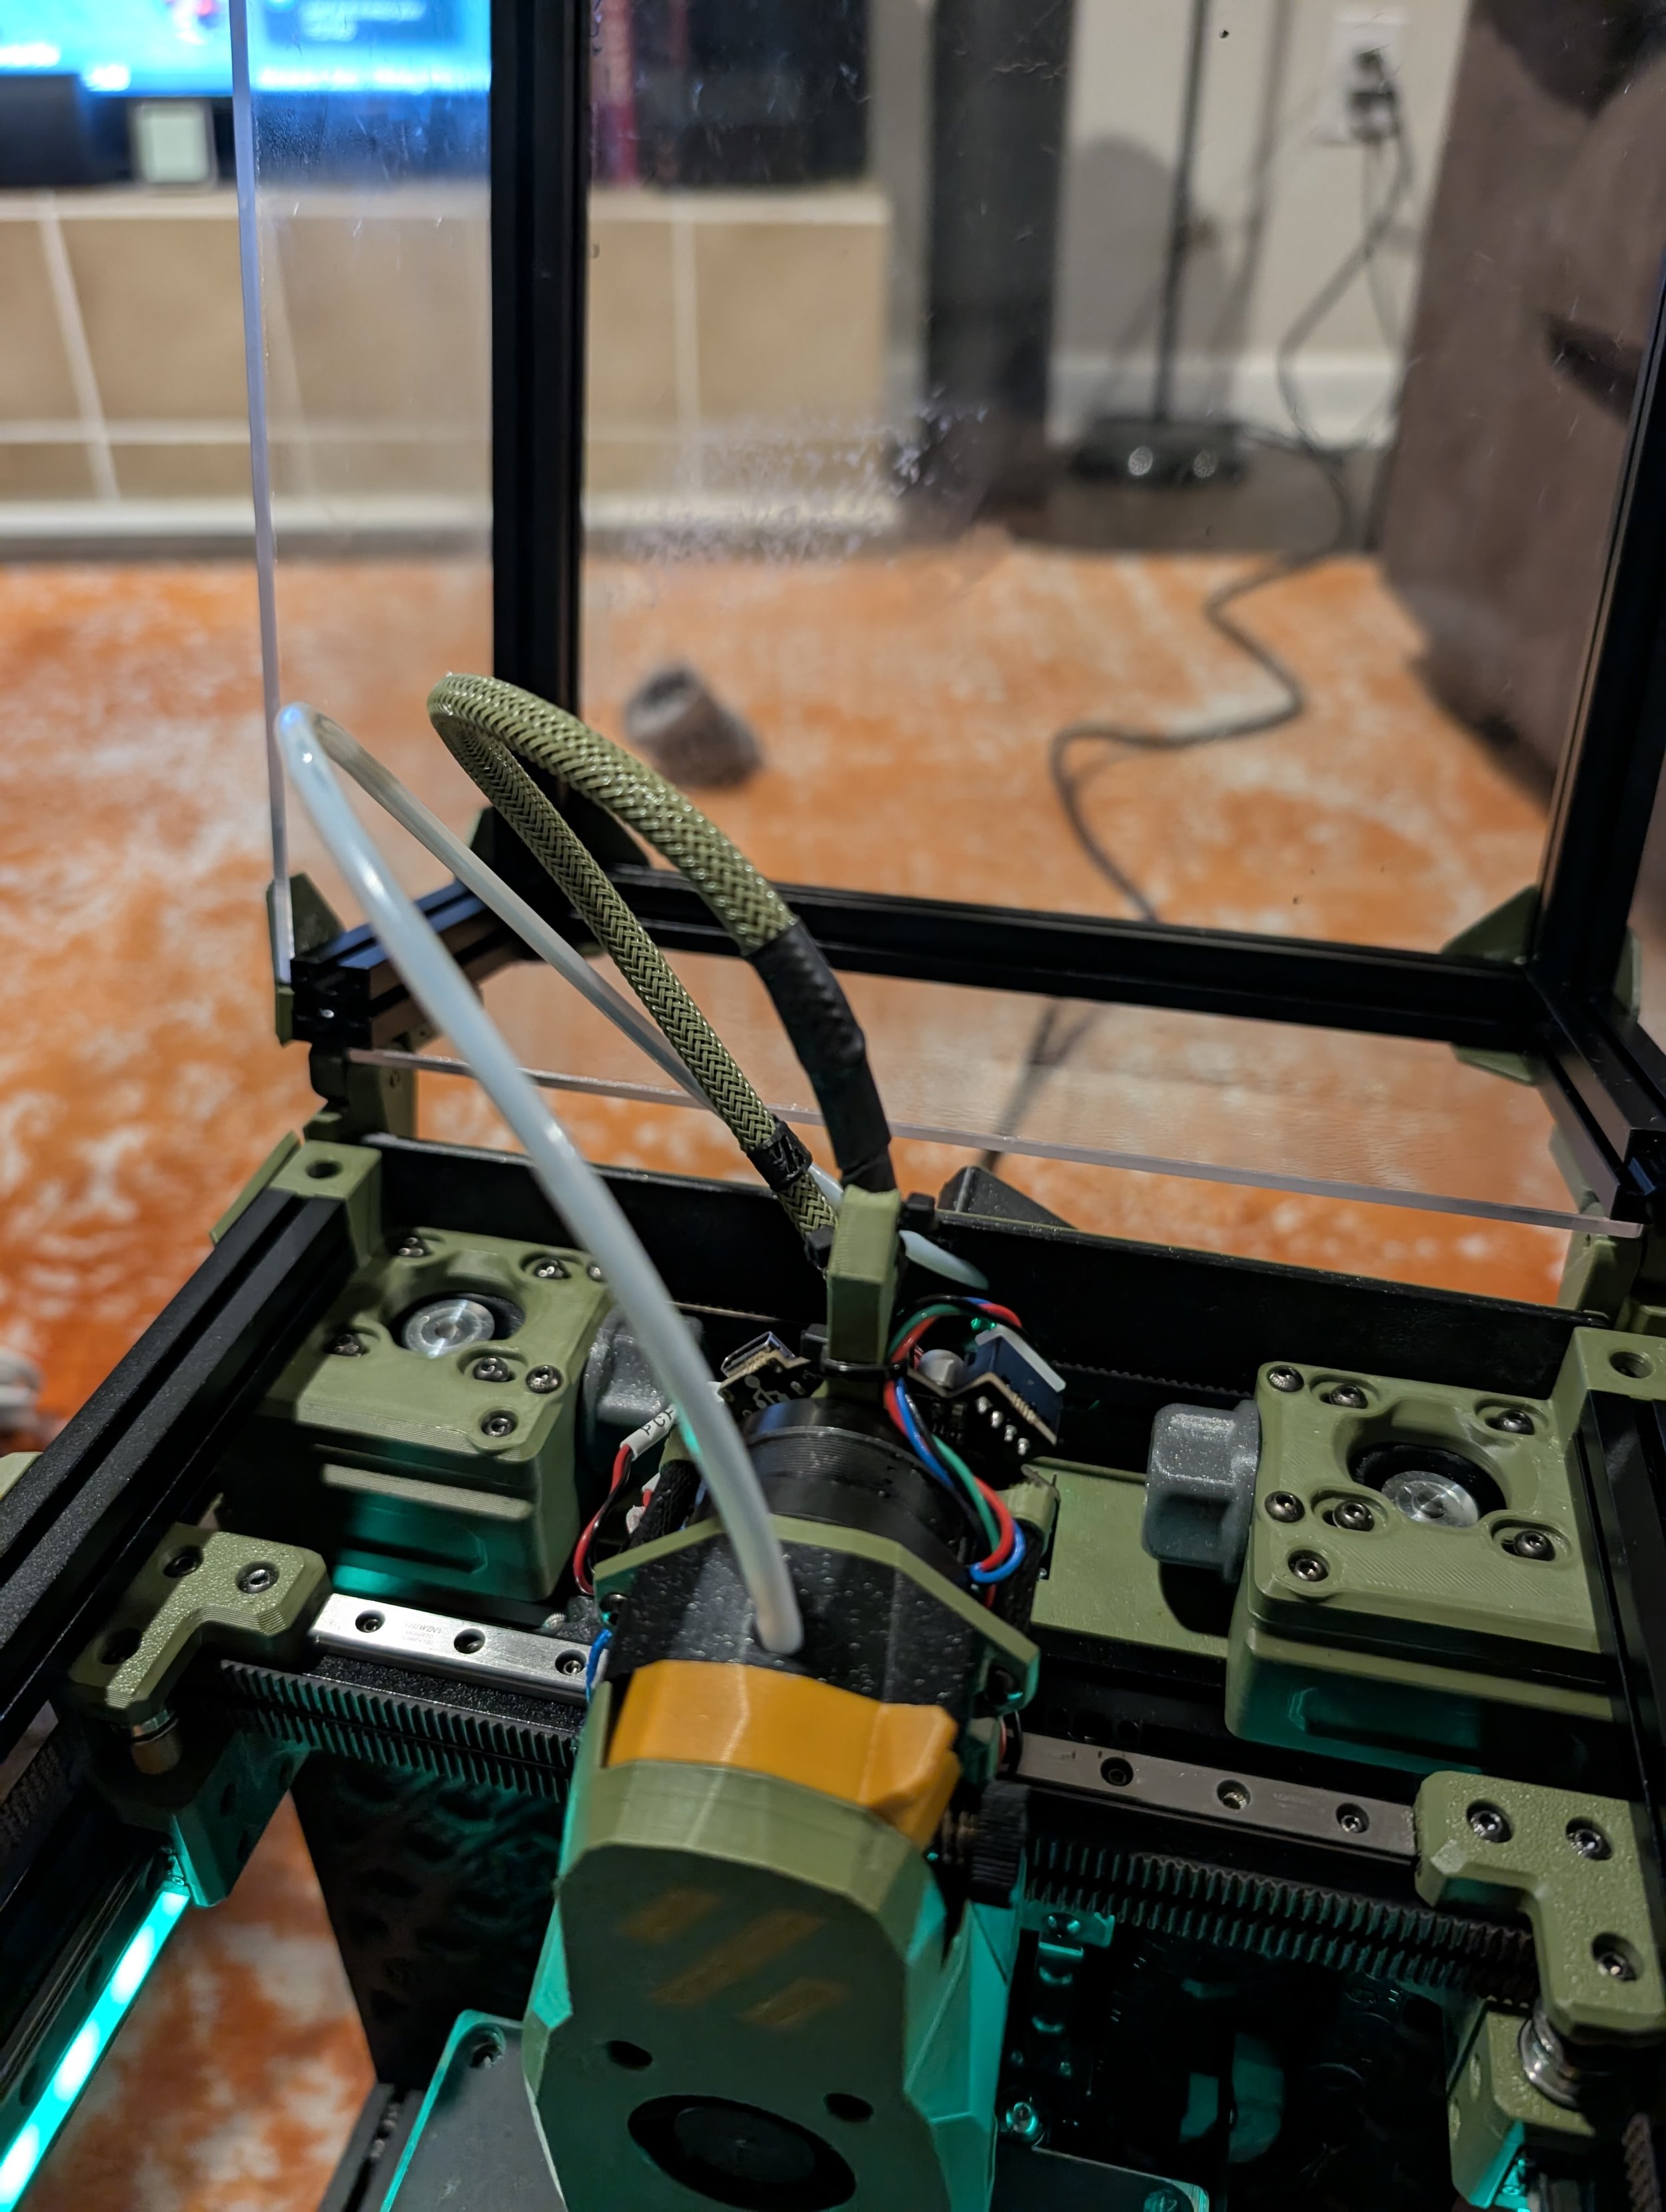
CANBus Setup Details
Single 4-wire cable to toolhead:
24 V / GND
CAN+ / CAN−
EBB36 v1.2 toolhead board + Fysetc USB 2 CAN board
All toolhead components plug directly into the EBB
Much easier RGB LED integration
Frees IO and fan pins on the SKR Pico, which is otherwise constrained
This setup pairs well with the any of the USB 2 CAN boards on the market. I used the Fysetc unit and had a pretty easy setup and performance so far. I highly recommend the Esoterical CANBus Guide if you’re interested in trying it out on your printer


LDO Picobilical
RP2040 serves as extra MCU
Requires 24V from PSU & USB from SBC
Frees up IO on the SKR Pico
Cleans up wiring and Cable Management
RGB LED ports for chamber and toolhead lights
The LDO Picobilical is a nice upgrade over the standard V0 Umbilical. Almost like a halfway point between the V0 Umbilical and CANBus. There’s a frame PCB which gets 24V power form the PSU and acts as an extra MCU.
Then the Toolhead PCB includes an accelerometer, RGB ports and connects to the frame pcb via a multi wire Molex cable similar to the V0 Umbilical.
I did run into issues with the Picobilical or Thermistor having disconnects. Even with a good amount of strain relief.
Display
Similar to the SBC no display is supplied in the LDO kit but can often be a retailer upgrade. Since the printer runs Klipper + Mainsail it’s pretty easy to run the printer completely “headless” and just control it via the web interface or an app like OctoApp (iOS / Android).
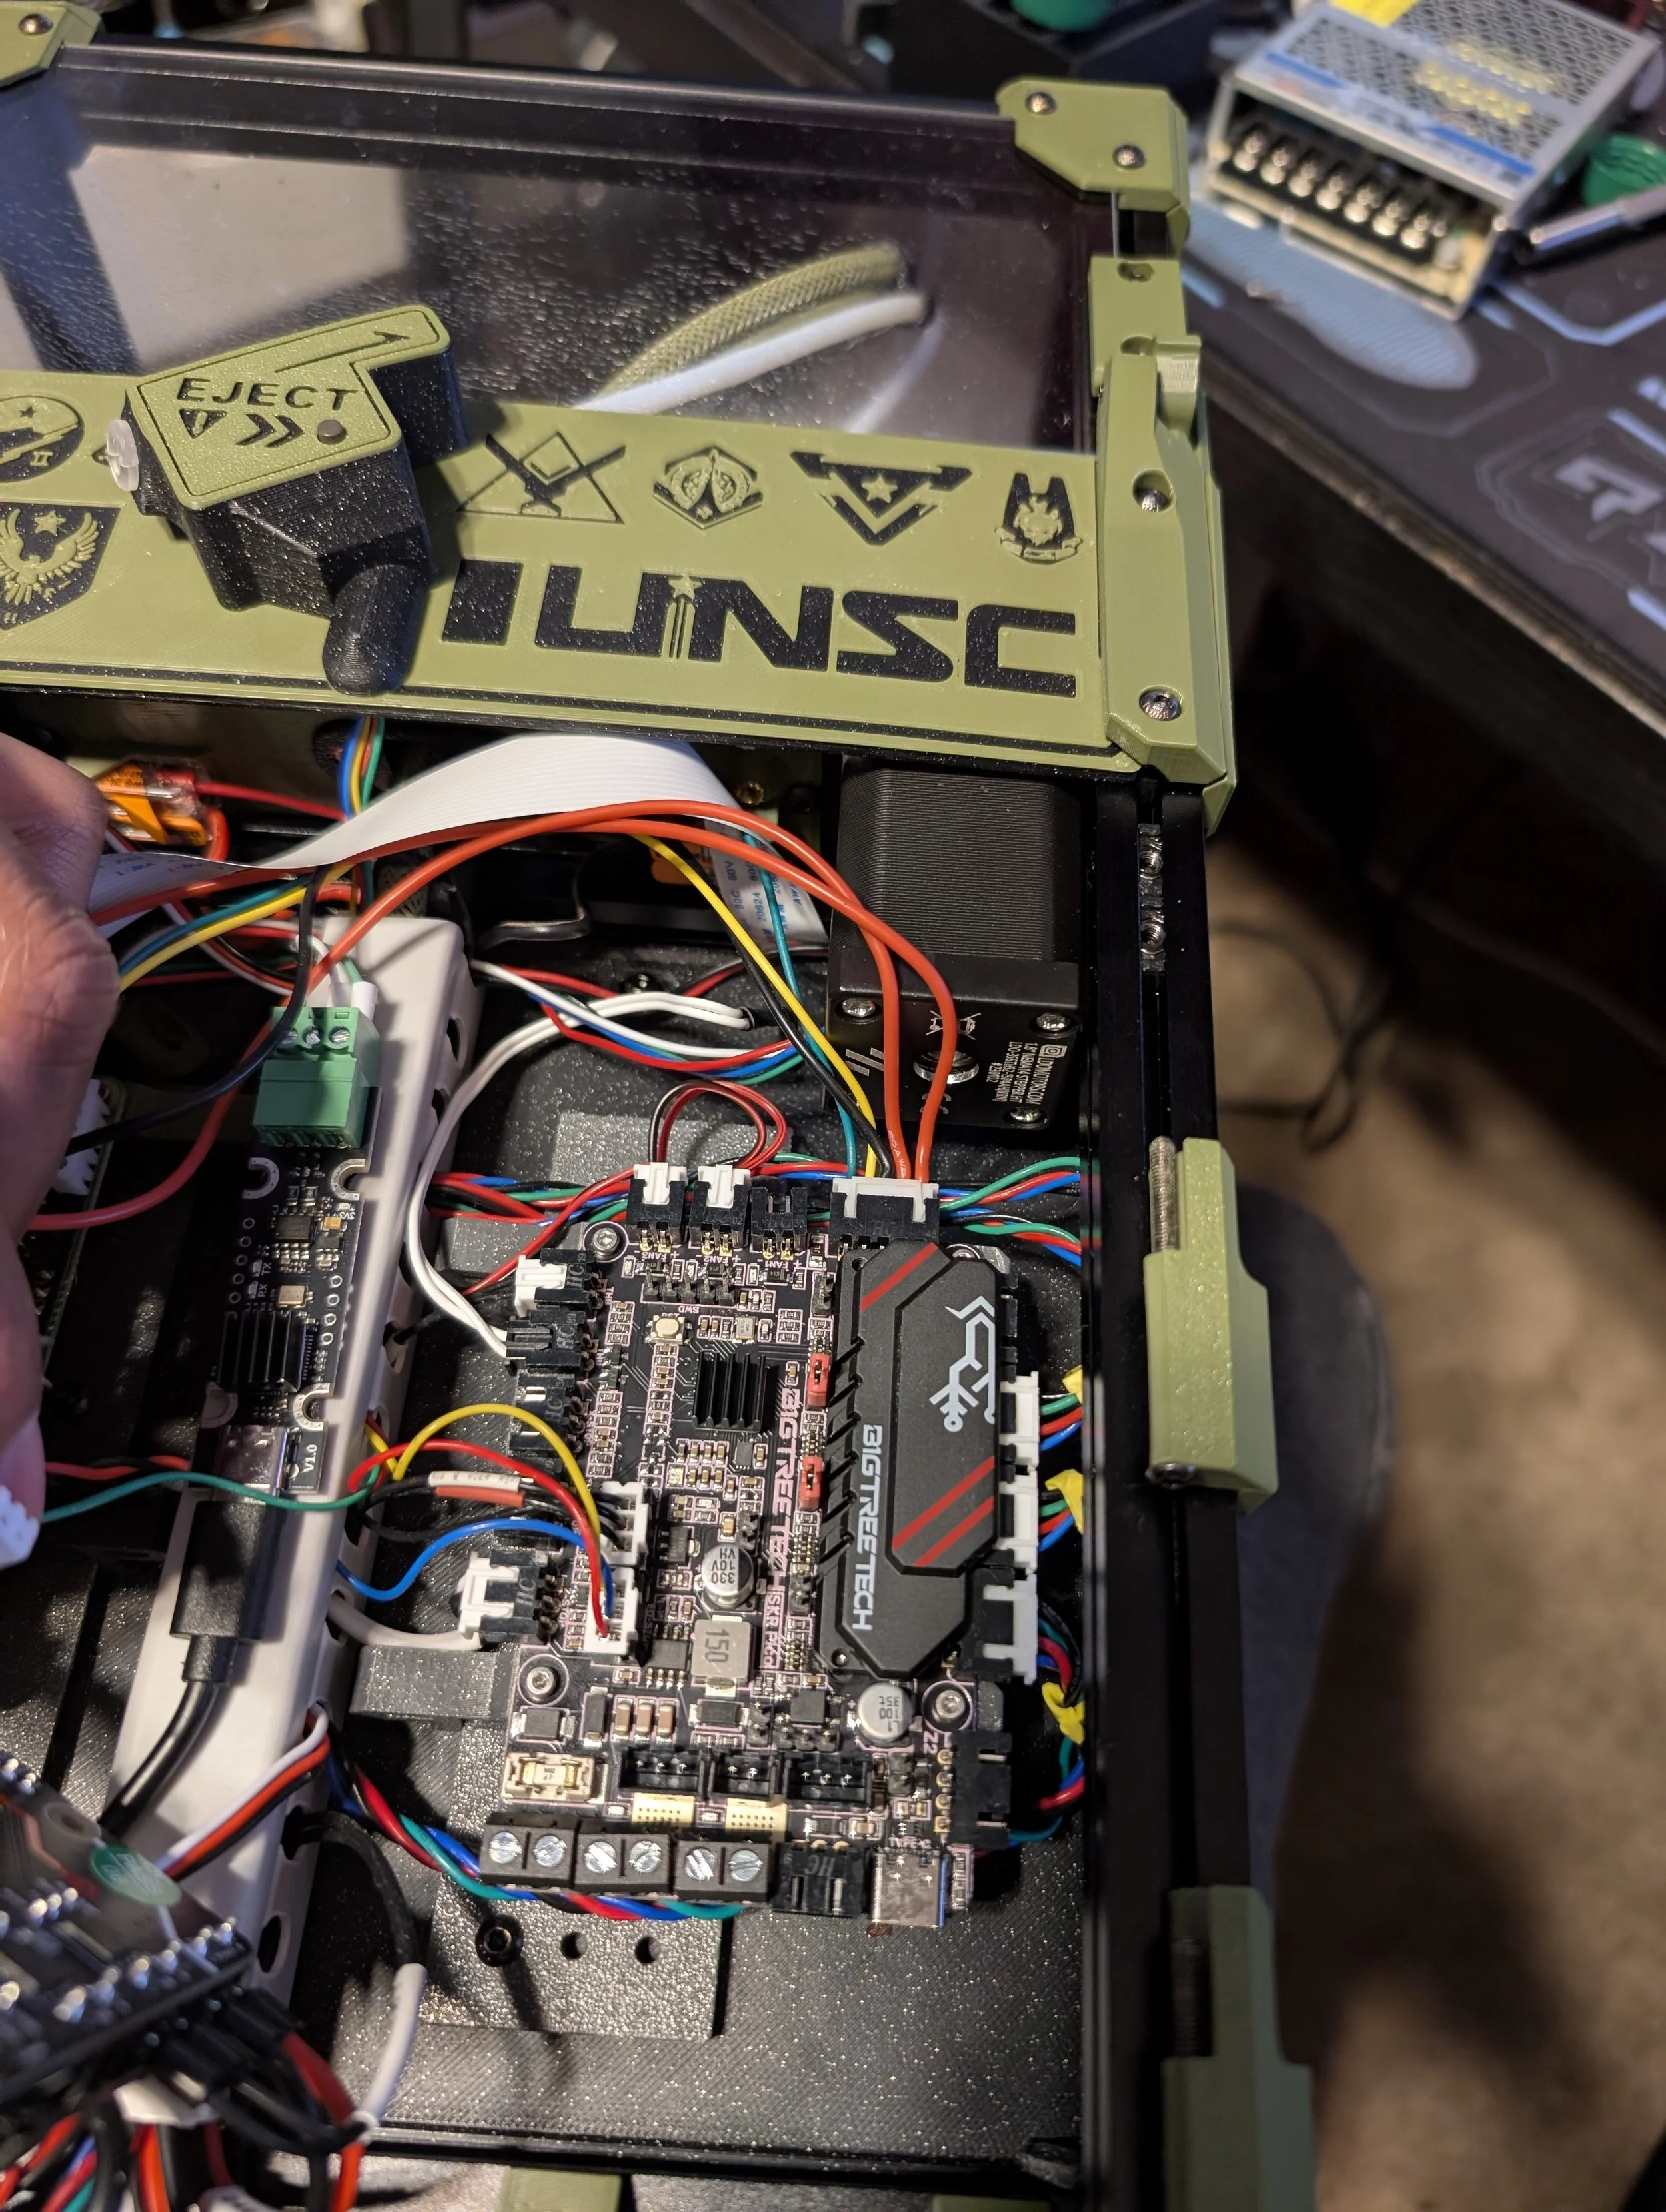
Mainboard
The BTT SKR Pico is the board the Voron team recommends and is included in this kit. It has a footprint the same size as a Pi and fits well in the build.
It’s a bit starved for extra IO. It can be hard to find spots to add a bunch of extra fans, neopixels and other add-ons. But the Picobilical in this build, or a CANBus toolhead board can free up some of the IO.
Fans
LDO includes a mixture of LDO branded and Sunon fans. As described earlier there is a 3010 fan included from the V0.1 Mini Afterburner toolhead setup which should be discarded. In the V0.2 Upgrade package there is a 4010 fan which is suitable for Mini Stealthburner.
Be sure to check fan dimensions and follow the manual closely to make sure you use the correct fan in the correct spot. A few folks on Discord have run into trouble trying to use the old 3010 fan in Mini Stealthburner for example.
The fans have proven to be pretty reliable and on par with all of the similar quality brands like GDSTime that i’ve used in the past in terms of airflow and noise.
PSU Note
Early revisions of the LDO V0 kit included a Mornsun PSU. After shipping thousands of kits Mornsun was added to a restriction list by the US Government. LDO has updated their newer kits to include a different brand PSU. There is nothing wrong with the Mornsun PSU. It just can’t currently be sent to the US. If you have any concerns reach out to your LDO Distributor or LDO themselves.
LDO Motors
LDO Motors are highly regarded and used by a number of consumer/commercial 3D Printer manufacturers. They were some of the earliest 3D Printer steppers with integrated leadscrews which have been made popular by the many Prusa printers which used LDO motors. They perform very well in the V0 kit.
Some users reported early kits had issues with overly aggressive lead screw threads which sometimes eroded the POM lead screw nut included in the kit. I didn’t have this issue. LDO has offered replacements to any builders that have run into this issue. Reach out to your LDO or your LDO Distributor if youhave any issues.


The Picobilical and CANBus have some similarities and a few key differences. Specifically CANBus only has 4 wires going to the toolhead which reduces the chances of disconnects from cable strain as the toolhead moves around at high speeds.
The Picobilical almost feels like an intermediate step between the original V0 Umbilical and CANBus.
I originally thought CANBus seemed a bit silly for a V0 since the cable runs to the toolhead were so relatively short compared to larger printers.
But after using the V0 Umbilical, other toolhead breakout boards, the Picobilical and the Fysetc USB based board I changed my mind
CANBus
Cleans up wiring
Extra MCU(s)
Frees MCU IO
Requires USB 2 CANBus Board
Takes away a SBC USB port
4 Wire cable to toolhead (24v, GND, CAN-High, CAN-Low)
Numerous toolhead boards available
Lots of expansion possibilities for different boards, probes, sensors, etc…
Ballistic URBiter FRS
On my Formbot V0 I prototyped and implemented a “Smart” version of the FRS in the V0.2r1. I replaced the simple switch with the LDO produced Orbiter Filament Runout Sensor. It is designed to work with the various Orbiter extruder and toolhead designs. It features 2 buttons, one you manually press to unload filament. The other is set up to be press/released by a ball bearing when filament is or isn’t present. Both buttons utilize macros to pause prints and quickly heat up the toolhead for filament changes.
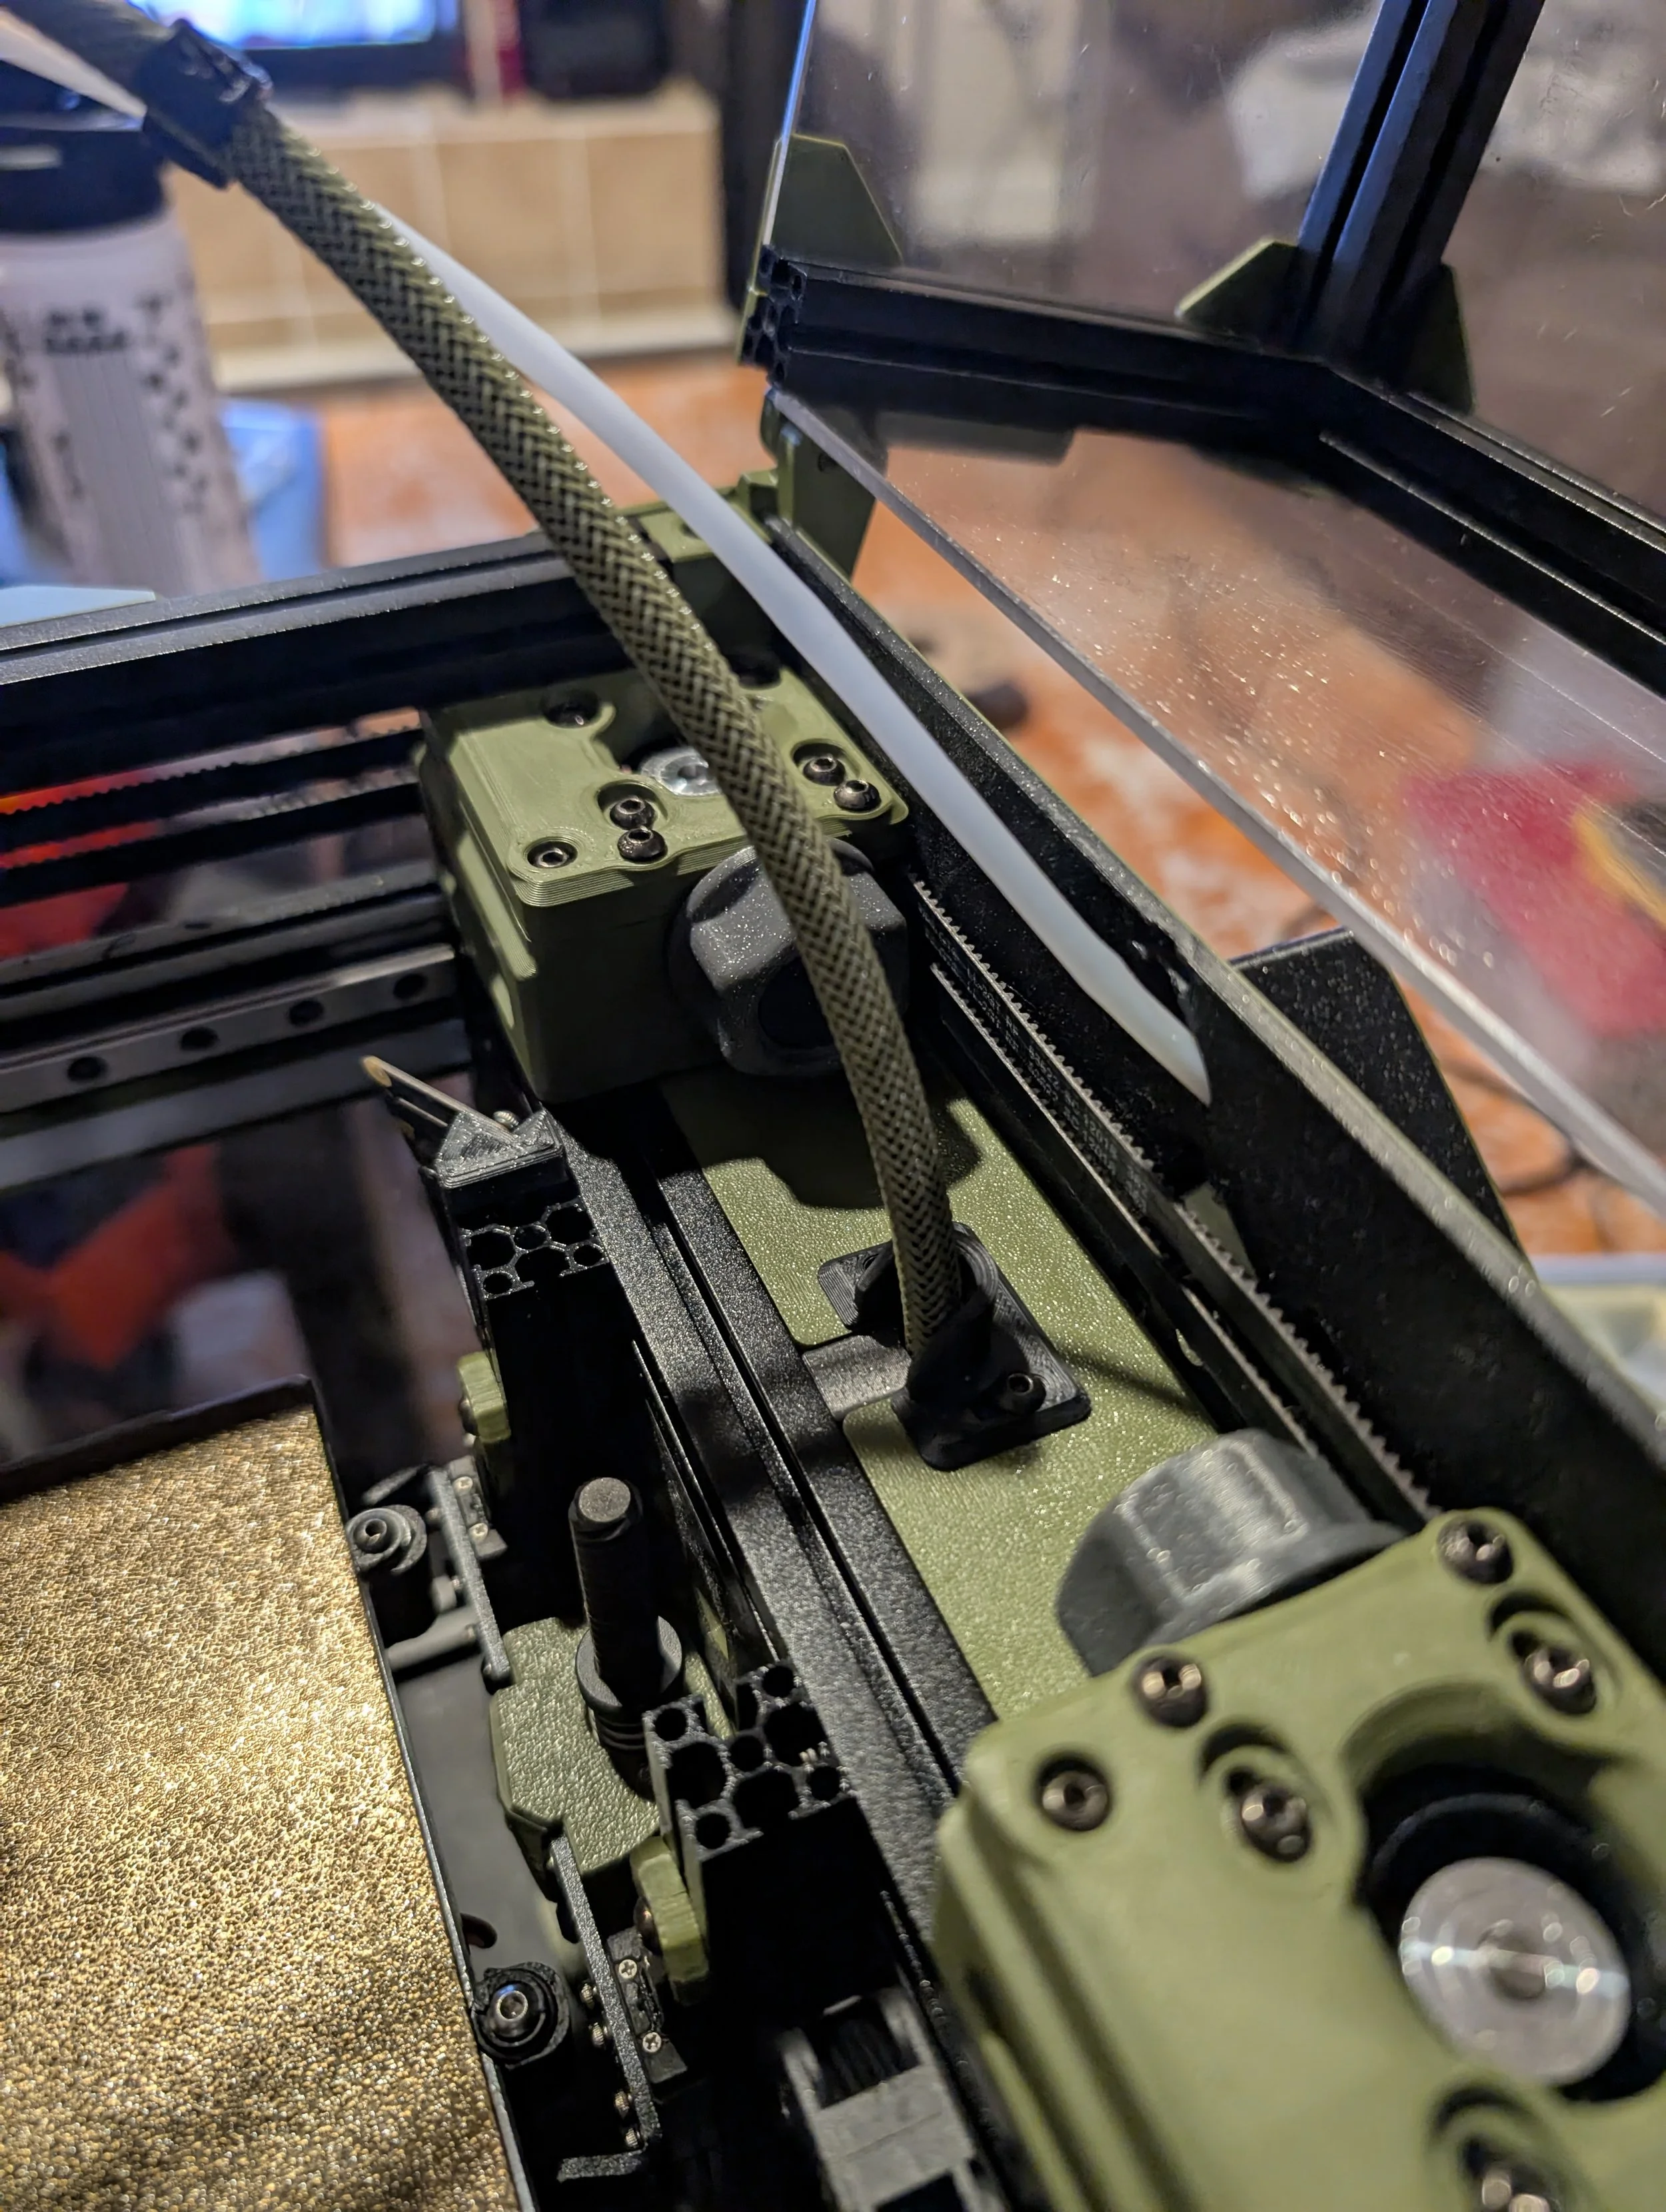
For this build I decided to iterate on that design and move it to the back of the printer. To do so I combined it with Maple Leaf Makers URBI (Upper Rear Bowden Entry) mode which bypasses the long reverse bowden tube run of the stock V0.2r1. Instead having a much shorter run directly into the chamber instead of through the electronics bay.
I designed a housing, remixed the replacement rear panel and voila. The URBIter FRS. It’s available on Printables and labeled as WIP. But numerous folks have downloaded and installed it. There are a few remixes available as well.
You can generally follow the instructions from the Orbiter project for the FRS and use their macros.
Other Mods & Upgrades
| Mod/Upgrade | Creator | Link |
|---|---|---|
| MFNano Filter | MapleLeafMakers | Github - View |
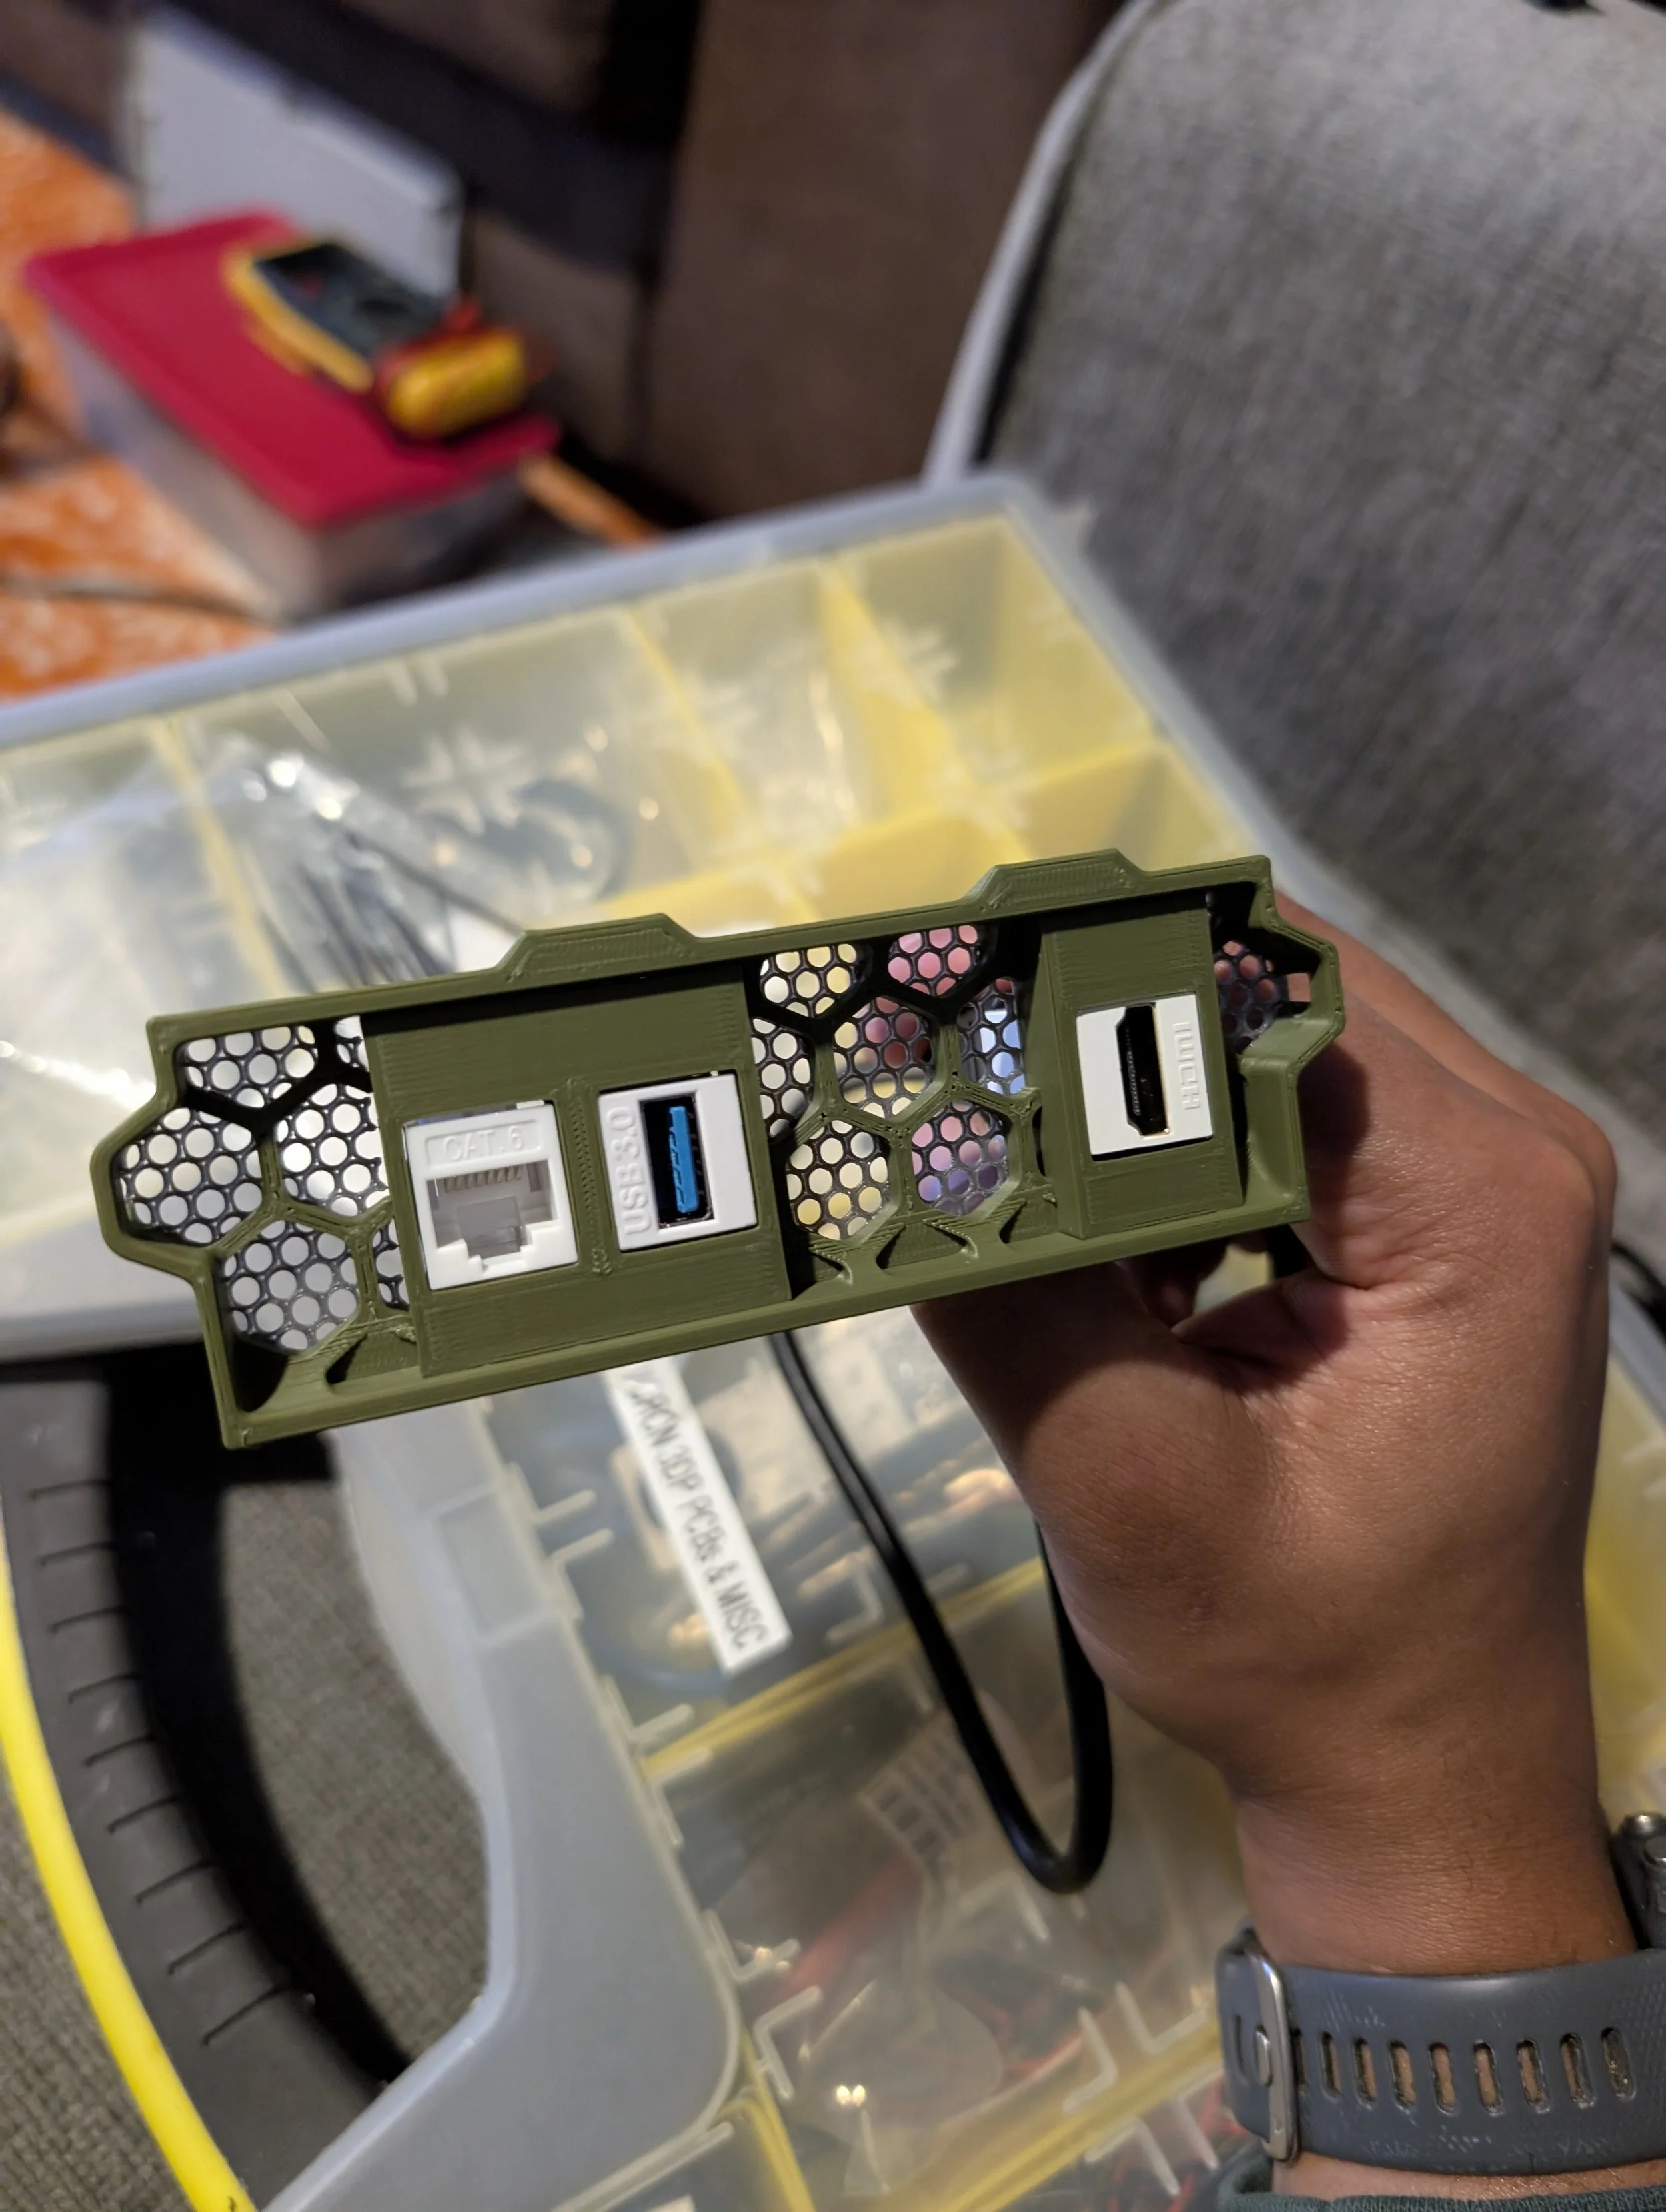
| Voron V0 Rear Skirt Keystone | greecher | Printables - View |
| Voron 0.2 - LazyCams | AKinferno | Printables - View |
| End link cable chain for Voron V0.2 | MarekZCMB | Printables - View |
| 3x Revo nozzle storage holder for Voron v0 | Jerky_FPV | Printables - View |
| Voron 0 Raspberry Pi Camera Mount | smuk3d | Printables - View |
| Voron V0.2 Rear Cover Hinge Mod | mahatmaJman | Printables - View |
| Voron V0 Stealth Handles | Maple Leaf Makers | Printables - View |
| Voron Hex Mid Panel | Mandic Really | Thangs - View |
| Voron V0 - Modesty Mesh | Maple Leaf Makers | Printables - View |
| Matchstick Diffusers | Maple Leaf Makers | Printables - View |
| Voron 0.2 BTT EBB36 toolhead mount with strain relief | Crys' Livingroom Workbench | Printables - View |
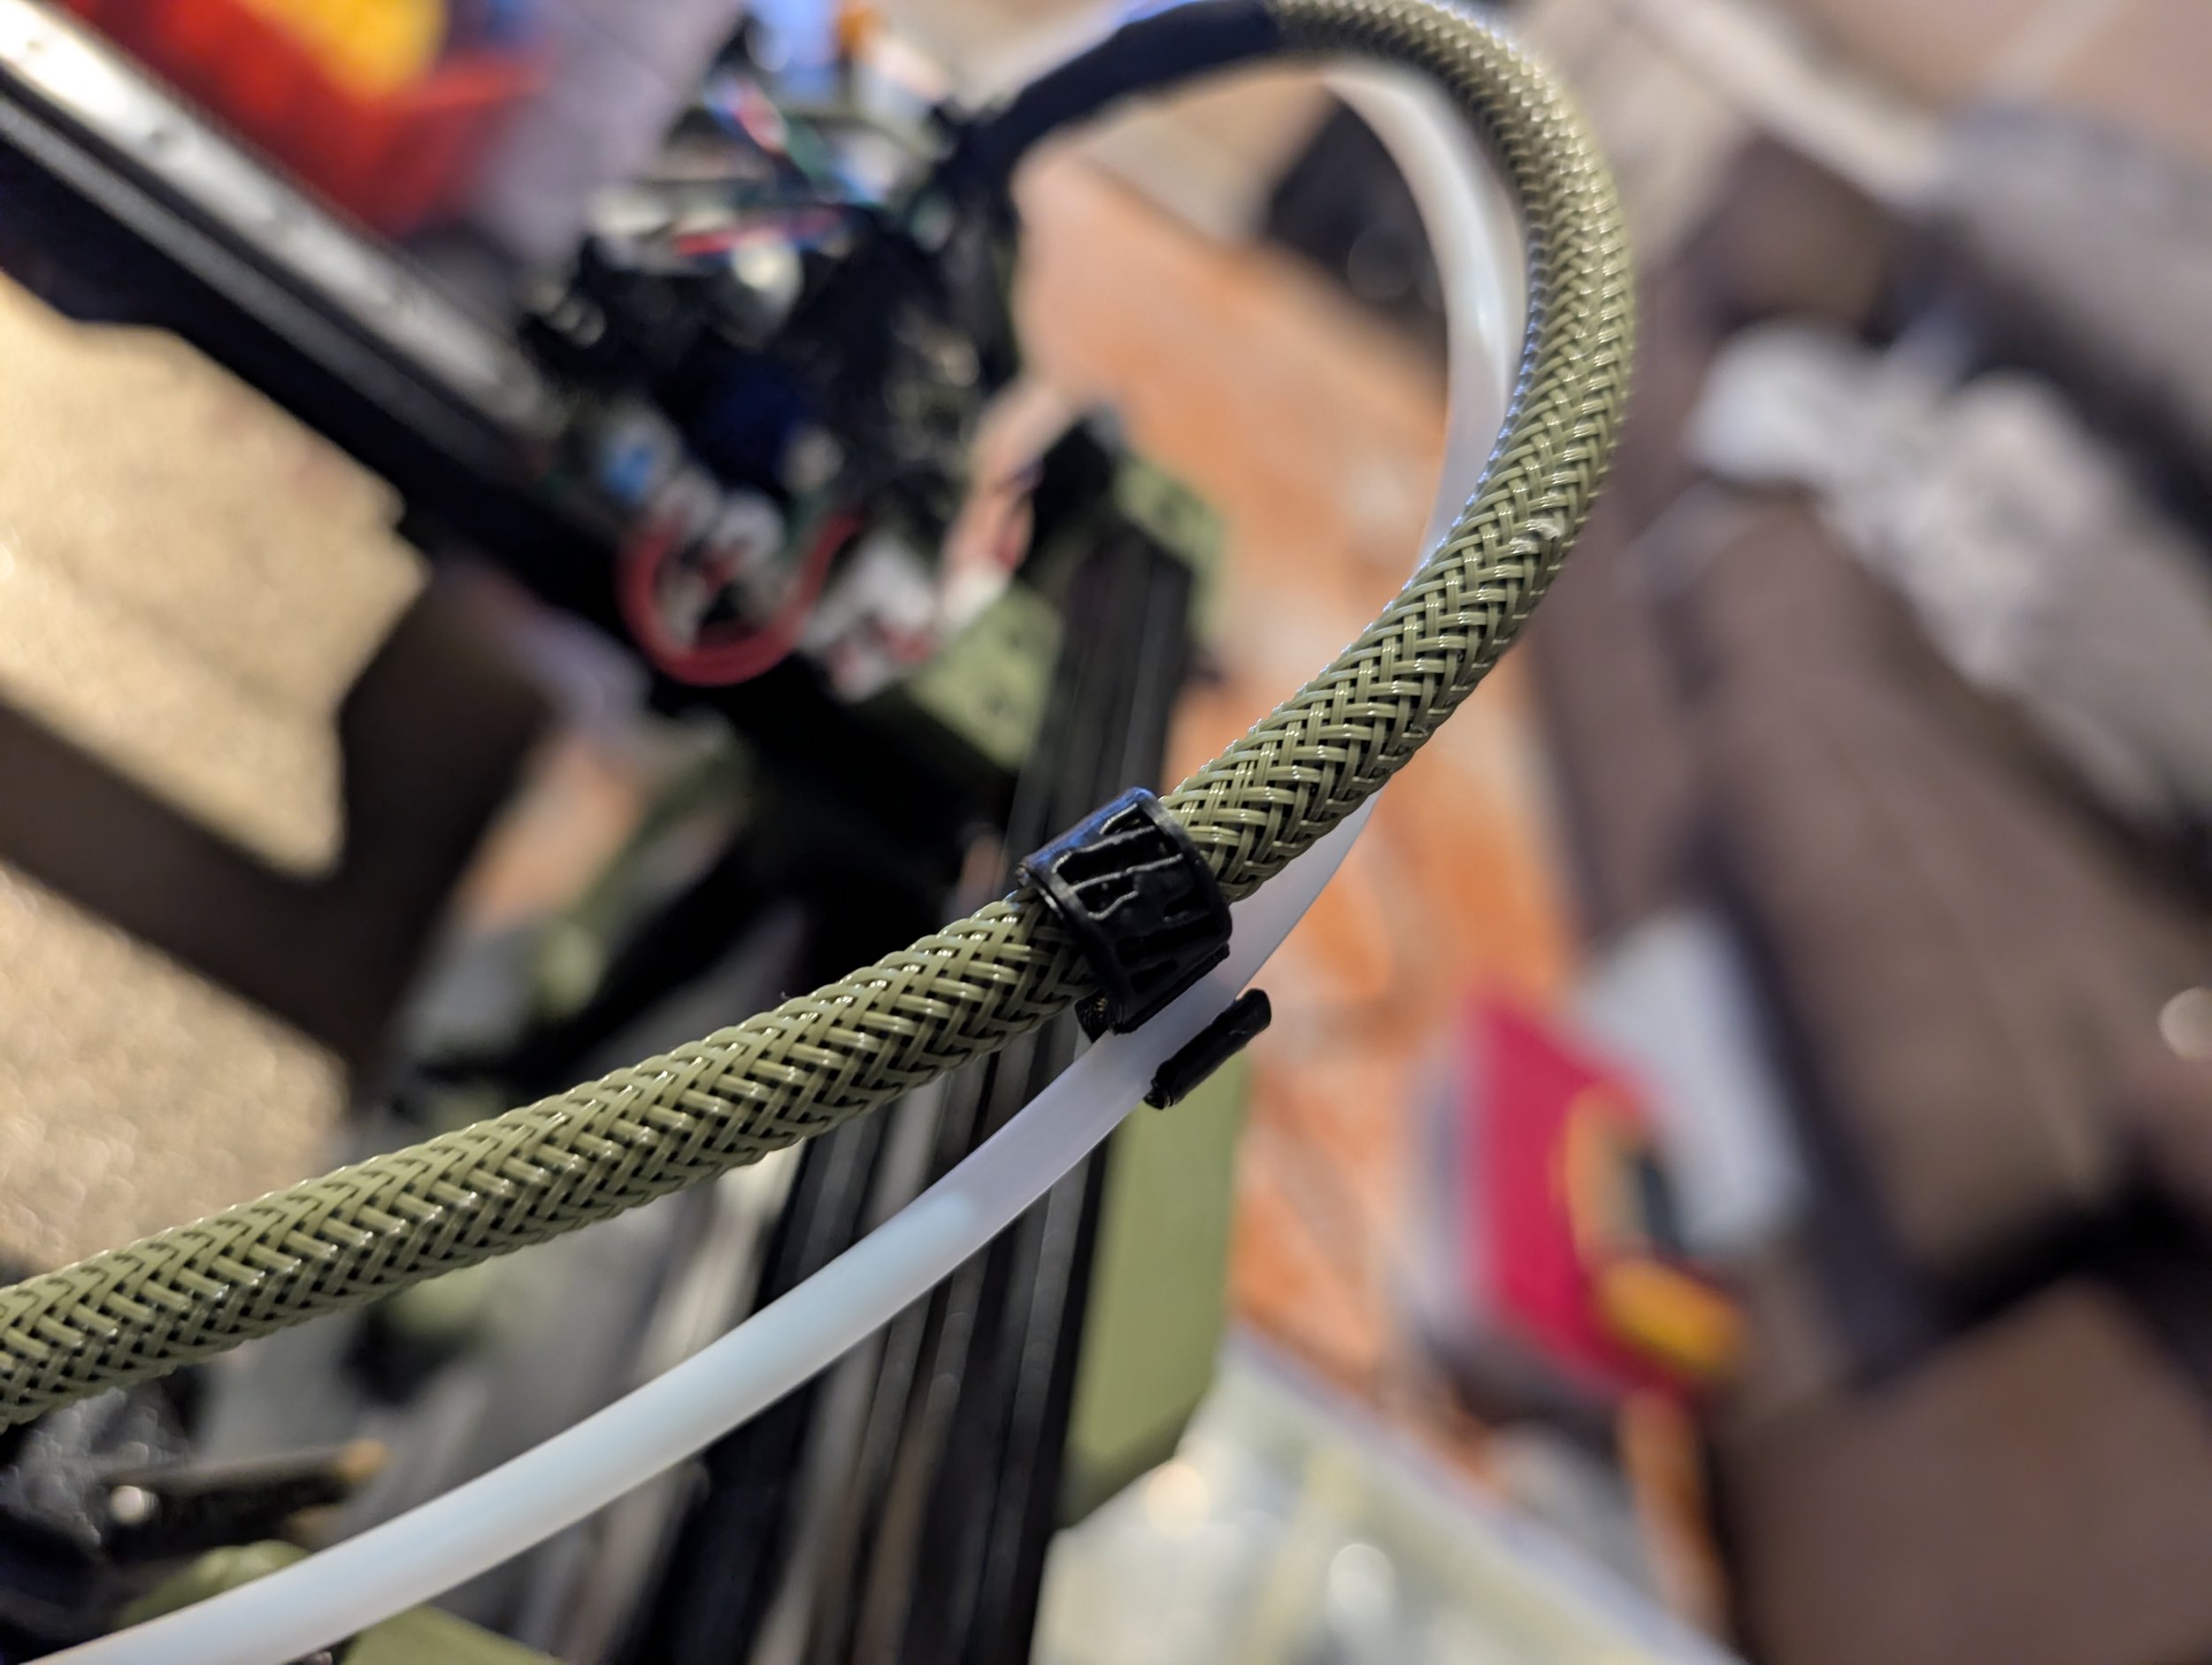
| Bowden tube and CANbus / USB cable support clips | Iconic FAB | Printables - View |
| EBB36 JST Splitter for dual part cooling fans | Esoterical | Printables - View |
| Voron V0.2 canbus hex frame mount | Basset02 | Printables - View |
| V0 Umbilical Collar | Maple Leaf Makers | Printables - View |
| V0 Chamber Thermistor Mount | Maple Leaf Makers | Printables - View |


Picobilical VS CANBus
Mods, Upgrades & Long Term Use
Initial Picobilical Experience
The included LDO Picobilical works as intended and dramatically simplifies initial wiring. I ran the printer for hundreds of hours using the Picobilical.
I generally love the concept of the Picobilical. The V0 Umbilical it is based on makes wiring, cable management and repairs/upgrades to the tool head much easier. The Picobilical expands on that experience.
I did eventually start to run into sporadic spurts with failed prints or just having to reset the Picobilical MCU. Most seemed to stem from the Molex cable having disconnects. Specifically the thermistor would have a temporary disconnect and trigger the thermal anomaly error in Klipper.
I added some extra strain relief on both the Frame and Toolhead which helped significantly. After building the Fysetc V0 kit which utilizes a 24V USB connection to the toolhead board I decided to try CANBus on my other V0s (Formbot + LDO)
LDO have obviously spent time building their own kits, sent out beta kits to the Voron team and others, and generally taken a lot of feedback to improve their kits.
The only negative I have is around possible confusion from having to move through multiple sites and sets of documentation. Switching between the stock Voron Manual, LDO Build Notes/differences, multiple LDO Doc sites sometimes resulting in user errors and back tracking.
Just like there are multiple revisions of the V0 (V0, V0.1, V0.2, V0.2r1) there are several revisions of the LDO docs. Be weary of following links from google searches as they sometimes lead to older revisions. Several times I ended up on LDO’s V0.1 docs.
My best advice is to watch some streams like mine, or Steve_Builds and read through all of the necessary docs a few times before starting. Maybe take notes and just write down things that others have stumbled on or you think you might have issues.


Build Experience
The LDO Kit + Documentation makes for a very nice build experience. I really enjoyed building the kit and found they’ve included a lot of Quality-of-Life enhancements to provide a really good build experience.
Helpful Build Features
Tools
Pre-applied thread locker
Linear rail nut bars
Mostly assembled bed
Kirigami Bed Kit and breakout pcbs
Picobilical wiring + precut-crimped wires
Cable tracks


Who This Kit Is For
Great fit if you:
Value quality, premium features and an great build experience
Willing to pay a premium to a great company for a great kit
Enjoy a well documented build experience with a lot of support from the company and community
Less ideal if you:
Primarily cost driven
Don’t intend to use some or all of the value-adds in the kit
Picobilical, Voron Revo + nozzles and Polyamide bed are some value-adds that contribute to the premium cost
If you don’t intend to use those for a project like a Printer For Ants it might be a big turn off for this kit
Prefer self-sourcing or organizing things in your own way
Pros & Cons
Pros
High quality premium kit
Arguably the “Best” according to a lot of builders
Great support
Company that supports the 3D Printing Community
I can’t speak highly enough of Jason
Lots of documentation, build logs and community support
A LOT of value-adds compared to other kits
Well packaged
Very complete
Great build experience
Sub-kits available to self-source, upgrade other kits or build out exact feature-set a builder is looking for
Cons
Price - sticker shock for folks looking for a inexpensive way into the Voron/Custom DIY build scene
Nit-Picky: But improvements to the documentation can make the build process even more streamlined and straight forward
Some value-adds, which contributes to the higher price, might not align with builders aiming for a very specific build (Printers for Ants)
Where to Buy (Affiliate Links)
Halo Colored Polymaker Filament (All Colors) - https://geni.us/ldo-v0-filaments
E3D Revo HF Nozzles (Multiple Resellers) - https://geni.us/e3d-revo-hi-noz
E3D Revo ObXidian HF Nozzles (Multiple Resellers) - https://geni.us/e3d-revo-hf-obx
LDO Oribiter FRS (Multiple Resellers) - https://geni.us/ldo-orbiter-frs
Fabreeko Honeybadger CNC V0 X Carriage - https://geni.us/cnc-v0-carriage
Formbot V0.2r1 Kit - https://geni.us/formbot-v0-kit
FYSETC UCAN Board - https://s.click.aliexpress.com/e/_c43b8tO5
BTT EBB36 Toolhead Board [Aliexpress] - https://s.click.aliexpress.com/e/_c4OGi7pj
BTT EBB36 Toolhead Board [KB-3D] - https://kb-3d.com/store/controllers-displays-drivers/7345-9537-bigtreetech-ebb36-ebb42-gen-2-klipper-toolboard-can-bus-usb-1764187996646.html?affp=15304#/model-ebb42_gen_2
3DO CAN Bus Cable - https://kb-3d.com/store/wiring-connectors/949-3do-can-bus-cable-fepsilicone-26awg1p-20awg2c-per-meter-1690756630706.html?affp=15304
Final Thoughts
Conclusion
Last updated: June 2nd, 2026
This page will be updated as the printer evolves.
LDO is a great company and a big part of the Open Source 3D Printing community and industry. They support the community in a lot of ways and SHOW UP to participate in community events.
They also offer some of the best kits available for the Voron V0 and many other printers and projects. This is a great kit. I think this review should give you a pretty good peek into what’s inside the kit, what it’s like to build it and a few of the troublesome, but easily overcomeable, spots in the process.
With all that info I feel confident you should be able to decide whether this kit is for you or not.